Make the Initial Batter: Combine 1 cup of all-purpose flour, the yeast, and sugar in a bowl, then pour in 1 cup of lukewarm water and whisk or stir until you have a smooth, thick batter without lumps.
Rest the Batter: Cover the bowl and let the mixture stand for 30 to 40 minutes, until it becomes bubbly and frothy on the surface and has visibly risen.
Begin the Dough: Add the oil, salt, and 1 cup of all-purpose flour to the risen batter, then mix thoroughly with a spoon or spatula.
Add More Flour: Mix in another 1.25 cups of all-purpose flour, combining it well before beginning to knead.
Knead the Dough: Knead the mixture for about 10 to 12 minutes until the dough becomes smooth, soft, supple, and elastic.
Adjust the Consistency: If the dough remains sticky, add up to about ¼ cup more flour as needed, keeping in mind that the amount of water required can vary according to the quality of the flour; the source used 3.25 cups of flour with 1 cup of lukewarm water.
Coat the Dough: Transfer the kneaded dough to a bowl and spread oil or softened butter evenly over its surface.
First Rise: Cover the bowl with a lid or kitchen cotton napkin and leave the dough to leaven until it rises and doubles in size; the source gives about 20 to 25 minutes for instant or fresh yeast, while dry active yeast may require about 45 minutes to 1 hour or longer.
Shape the Dough: Gently punch down and deflate the risen dough, then shape it into a neat log.
Divide and Roll: Cut the log into equal-sized portions and roll each portion between your palms until you have a smooth, round roll.
Arrange the Pav: Place the shaped rolls in a greased baking tray, leaving about 1 inch of space between them.
Second Rise: Cover the tray and allow the rolls to rise again for 25 to 30 minutes, until the small buns have visibly increased in size.
Preheat the Oven: About 15 minutes before baking, preheat a regular oven to 200°C/390°F using both the top and bottom heating elements; for a convection microwave oven, preheat at 180°C/356°F for 15 minutes.
Brush with Milk: Lightly brush the risen pav buns with 1 to 2 tablespoons of milk, if using, to help give the tops a golden color.
Bake the Pav: Place the tray on the center rack of the preheated oven and bake at 200°C/390°F for 25 to 30 minutes, or until the tops are golden and the pav sounds hollow when tapped; in a convection microwave oven, bake at 180°C/356°F.
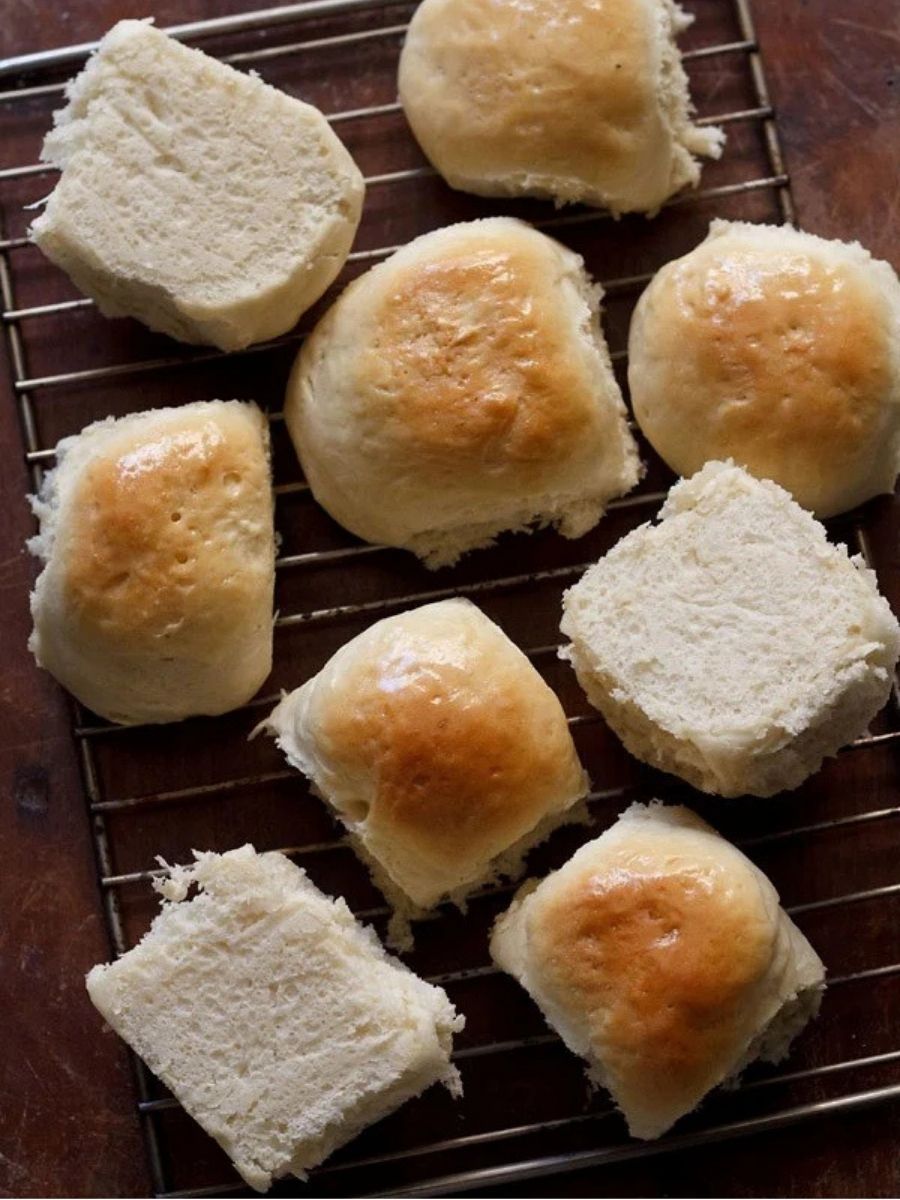
Transfer to a Rack: Remove the baked pav from the tray with a spatula and place the rolls on a wire rack or wire tray so heat condensation does not make their bottoms soft and moist.
Brush with Butter: Brush the warm pav with 1 to 2 tablespoons of melted butter or spread softened butter over the tops, if desired.
Serve: Serve the pav warm or at room temperature with curry, a vegetable dish, or simply as buttered bun maska alongside masala chai.
Store the Pav: Once cooled, keep the pav in an airtight container or bread box and store it in the refrigerator for about a week.