
CookLibrary is a recipe curation and editorial platform. We research and curate recipes from public sources, considering ratings, reviews, comments, and feedback. We then refine and present them clearly for home cooks. We are committed to an ad-free, focused experience that makes discovering and preparing recipes easier.
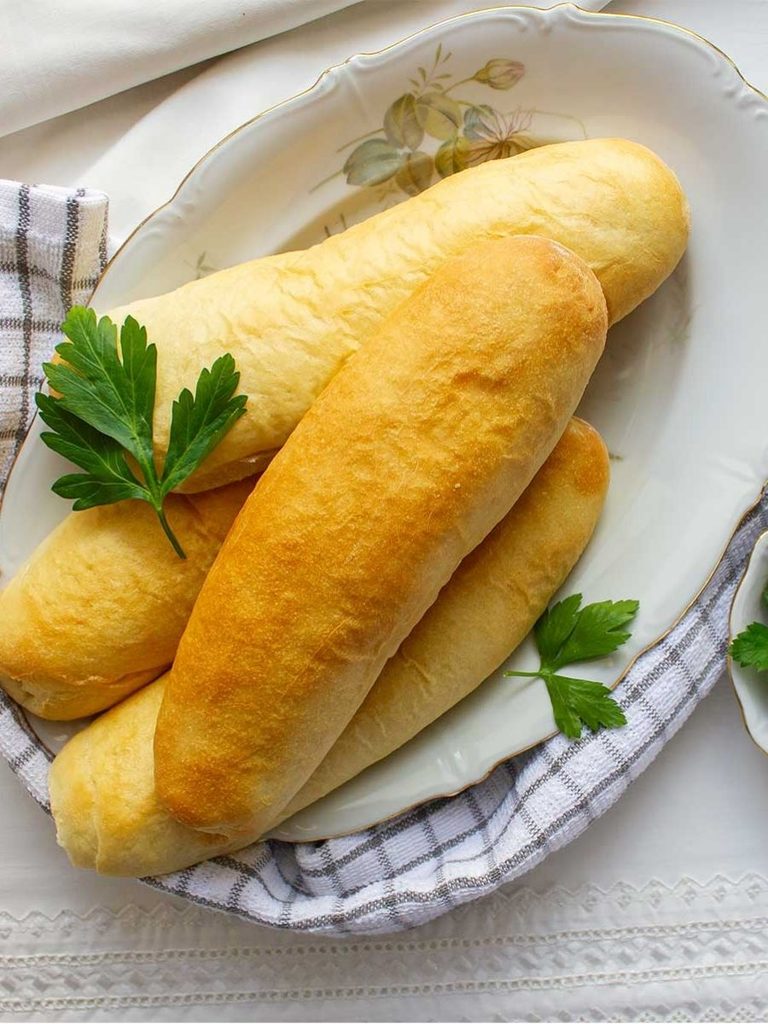
Egyptian Fino Bread is a soft, light bread roll traditionally shaped into slim, elongated loaves that are especially suited to sandwiches.
Its tender crumb and gently golden exterior make it appealing for both everyday meals and simple snacks, while its mild flavor allows the fillings to take center stage.
The dough combines all-purpose flour, warm milk, warm water, yeast, sugar, salt, and oil to create a soft base with a pleasant richness.
Chilled butter is kneaded into the dough toward the end, helping give the finished bread its smooth, tender texture.
The yeast mixture is first allowed to rest before the remaining ingredients are incorporated and the dough is thoroughly kneaded.
Although the dough begins somewhat sticky, continued kneading helps it become smoother and more manageable.
After the first rise, it is divided into six portions, shaped into long rolls, and given a second rise before baking.
This second resting period is an important part of the process, helping the rolls develop their characteristic softness and light crumb.
Baked at 400°F (200°C) for about 10 minutes, the rolls emerge lightly golden and ready to cool before storage.
Egyptian Fino Bread is delicious on its own, but its long shape makes it particularly practical for filling with sandwiches, breakfast ingredients, or other favorite fillings.
Its simple ingredients, soft texture, and versatile shape make it a wonderful homemade bread to keep on hand.
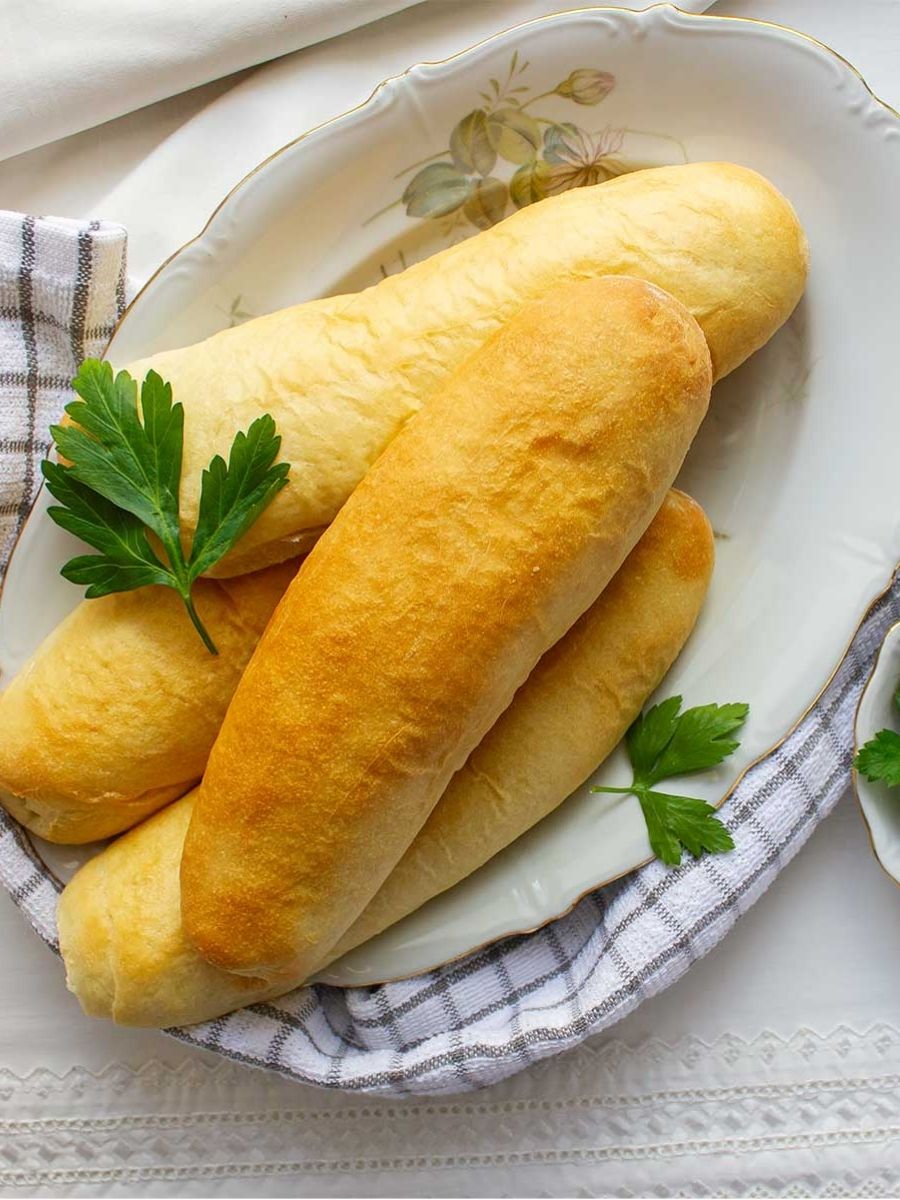

Soft Egyptian Fino Bread
Ingredients
Equipment
Method
- Activate the Yeast: Add the warm milk, warm water, sugar, and yeast to a bowl. Mix well, then leave the mixture undisturbed for 10 minutes.
- Make the Dough: Add the all-purpose flour, salt, and oil to the yeast mixture. Knead the ingredients for 10 minutes until the dough begins coming together and becomes firmer. The dough will initially be sticky.
- Work the Sticky Dough: If needed, use the pull-and-bang technique by grabbing the dough, lifting and pulling it, then firmly banging it against the work surface before repeating. Continue until the dough becomes soft, smooth, and only slightly sticky.
- Incorporate the Butter: Add the chilled butter to the dough and knead for another 5 minutes. Continue until the butter is incorporated and the dough comes together into a smooth, cohesive dough.
- First Rise: Cover the dough and allow it to rise for 1½ to 2 hours, giving it time to develop and become ready for shaping.
- Divide the Dough: Once the first rise is complete, divide the dough into 6 equal portions and shape each portion into a ball.
- Shape the Rolls: Roll each dough ball into a piece approximately 6 inches wide and 9 inches long.The work surface should not require flour for rolling.Roll each piece into a 9-inch log and place the shaped dough on a baking sheet.
- Second Rise: Cover the shaped logs and let them rise again for 1 hour. This second rise helps the bread expand further during baking and contributes to a soft crumb.
- Preheat the Oven: Preheat the oven to 400°F (200°C) while the shaped rolls complete their second rise.
- Bake the Fino Bread: Place the baking sheet in the preheated oven and bake the rolls for about 10 minutes, or until they become golden.
- Cool the Rolls: Transfer the baked loaves to a cooling rack and allow them to cool.
- Store the Bread: Once cooled, place the loaves in a Ziplock bag for storage.
Notes
- Check the yeast’s expiry date before starting, and store yeast in a cool place.
- Measure the flour by spooning it into the measuring cup, then leveling the top with a knife.
- Use warm rather than hot water, since excessive heat can kill the yeast and prevent the dough from rising.
- If using salted butter, omit the salt from the ingredient list.
- Rising time may be longer in a cold kitchen, so allow the dough enough time to rise properly.
- Do not skip the second rise; it helps the rolls expand in the oven and develop a softer crumb.
Chef’s Secret
The most important detail for achieving soft Egyptian Fino Bread is giving the shaped rolls their full second rise.
After the dough has completed its first rise and has been formed into six long logs, cover them and let them rest for the full one hour specified in the recipe.
This additional fermentation prepares the dough to expand more effectively once it enters the hot oven, helping produce the characteristic light, tender crumb.
Avoid rushing this stage, particularly if your kitchen is cool, because the source notes that rising can take longer in colder conditions.
Also, handle the dough gently during shaping and avoid adding unnecessary flour to the work surface, keeping the dough soft rather than making it overly firm.
Serving Suggestions
Egyptian Fino Bread is ideal for sandwiches because its long, soft shape provides plenty of room for fillings.
Slice the cooled rolls lengthwise and fill them with your favorite sandwich ingredients, or enjoy them plain for a simple bread option.
They can also be served alongside breakfast dishes, savory spreads, or a meal where soft bread is useful for scooping and dipping.
For a simple presentation, serve the golden rolls whole or sliced on a bread platter.
Conclusion
These homemade Fino rolls have a wonderfully soft texture, mild flavor, and versatile shape that make them useful for everyday sandwiches or serving alongside meals.
The combination of milk, oil, and butter creates a tender bread that remains delicious even when enjoyed plain.
Following both rising stages carefully is key to achieving the light, soft crumb that makes Fino Bread so appealing.
