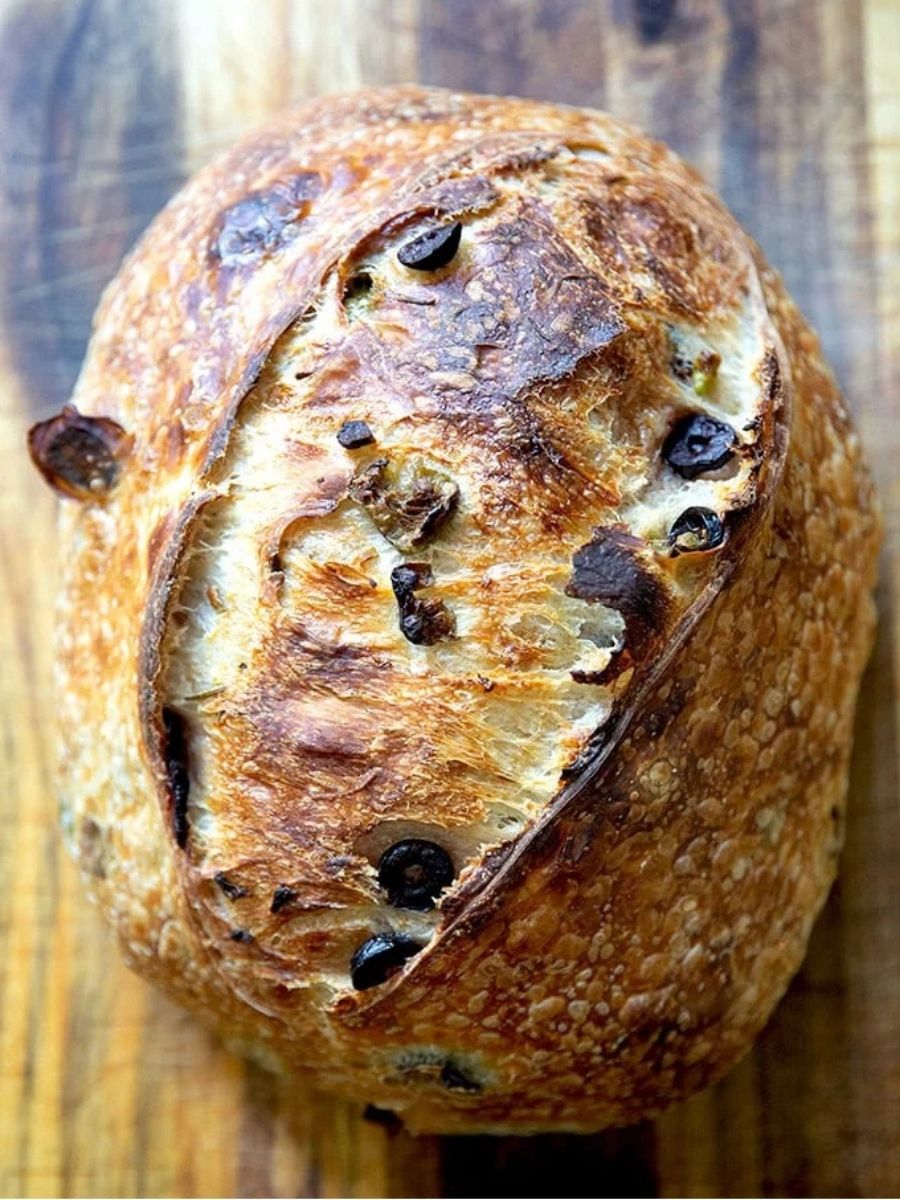
Make the Dough: Add the room-temperature water to a large mixing bowl. Stir in the salt, then add the bubbly, active sourdough starter and mix with a spatula. The starter does not need to be completely incorporated at this stage. Add the bread flour and stir until everything comes together into a sticky dough ball. Cover the bowl and let the dough rest for 30 minutes. Stretch and Fold: Wet one hand, grab a corner of the dough, and pull it upward before bringing it toward the center. Continue this motion around the dough for 8 to 10 folds. As you work, the dough should gradually change from shaggy and rough to smoother and more elastic. Slapping and folding the dough can also help develop the dough. Cover the bowl and let it rest for 1 hour. Prepare for Lamination: Lightly drizzle a large work surface with olive oil. Uncover the dough and drizzle a little olive oil around its edges. Use a flexible bench scraper to loosen the dough from the bowl, or carefully use your hands if you do not have a scraper. Turn the dough onto the oiled surface, reserving the bowl. Stretch the Dough: Using lightly oiled hands as needed to prevent sticking, gently stretch the dough into a large, thin rectangle approximately 15 × 20 inches.
Add the First Layer of Inclusions: Scatter 4 ounces of the sliced olives evenly over the stretched dough, followed by 1½ tablespoons of the fresh rosemary. Gently press the olives and rosemary into the dough so they stay in place during folding. Complete the First Lamination Fold: Begin at one short side of the rectangle. Fold the right edge toward the left so it covers approximately two-thirds of the dough. Then fold the left edge toward the right, covering the dough completely. Add the Remaining Inclusions: Scatter the remaining olives and rosemary over the bottom two-thirds of the folded dough.
Complete the Second Lamination Fold: Starting from the top edge, fold the dough downward so it covers approximately two-thirds of the dough. Fold the bottom edge upward and over the top section to enclose the dough completely. Lift the folded dough bundle and return it to the reserved bowl. Cover the bowl and let the dough rest for 1 hour. Perform the Final Stretch and Fold: With both hands wet, gently lift the dough from its center, allowing it to stretch lengthwise while the edges fold underneath. Fold the dough in half once or twice more until it forms a rough ball. Bulk Ferment: Transfer the dough to a straight-sided vessel and cover it. Leave it at room temperature until it has increased in volume by approximately 50% to 75%, develops a few bubbles on the surface, and jiggles when the vessel is gently moved from side to side.This stage can take about 5 to 10 hours depending on the season and room temperature, so use the dough's visual cues rather than relying solely on the clock. Shape the Dough: Turn the fermented dough onto a clean work surface. Do not flour the surface unless the dough is sticking; if necessary, use a light dusting of flour on the surface and your hands. Gently shape the dough into a round by folding the top toward the center, turning the dough, and repeating the fold-and-turn motion until you have worked around the entire dough. If using a bench scraper, push and pull the dough gently against the work surface to build surface tension. Rest the Shaped Dough: Lightly flour part of the work surface if you have not already done so.Place the dough seam-side up and let it rest for 30 to 60 minutes. Prepare the Banneton: Line a roughly 10-inch banneton with a flour sack towel. If you are concerned about sticking and are not using a flour sack towel, lightly dust the banneton with flour or rice flour. Final Shape and Proof: If making a round loaf, shape the dough again using the same folding method, then place it seam-side up in the lined banneton. If making a batard, shape it according to the batard method. Once the loaf is positioned seam-side up, use lightly floured hands to pinch the seam closed as well as possible. Fold the towel over the dough to cover it, place the entire bundle inside an airtight produce bag or 2-gallon zip-top bag, and refrigerate for ideally 24 to 48 hours. A shorter refrigeration period can be used if necessary. Preheat the Dutch Oven: Forty-five minutes before baking, place the Dutch oven inside the oven and preheat to 450°F. Meanwhile, cut a piece of parchment paper large enough to hold the loaf and fit inside the baking pot. Turn Out the Dough: Remove the covered banneton bundle from the refrigerator and unwrap the towel. Place the parchment paper over the dough and hold it securely in place. Carefully invert the banneton so the dough releases onto the parchment and countertop. Score the Loaf: Using the tip of a small sharp knife or a razor blade, score the surface of the dough in your preferred pattern. A simple slash works well. Use the parchment paper to carefully transfer the scored dough into the preheated Dutch oven. Bake Covered: Cover the Dutch oven and bake the loaf at 450°F for 30 minutes.
Finish Baking Uncovered: Remove the Dutch oven lid and reduce the oven temperature to 400°F. Continue baking for another 10 to 15 minutes, or until the loaf is browned to your liking. Cool the Bread: Transfer the baked loaf to a wire rack and let it cool for 30 minutes before slicing.
Store the Bread: Keep the cooled loaf at room temperature in an airtight plastic bag or container for up to 3 days. The bread can also be frozen.