
CookLibrary is a recipe curation and editorial platform. We research and curate recipes from public sources, considering ratings, reviews, comments, and feedback. We then refine and present them clearly for home cooks. We are committed to an ad-free, focused experience that makes discovering and preparing recipes easier.
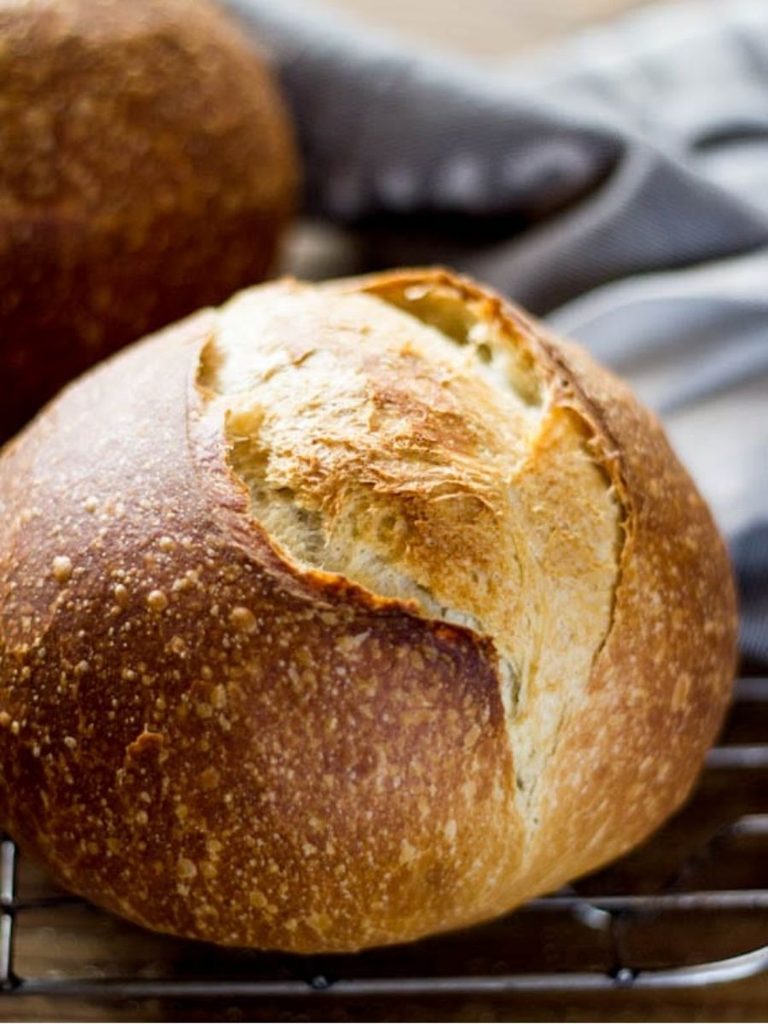
This beginner-friendly sourdough bread is a wonderful way to create a rustic, artisan-style loaf at home using just a handful of simple ingredients.
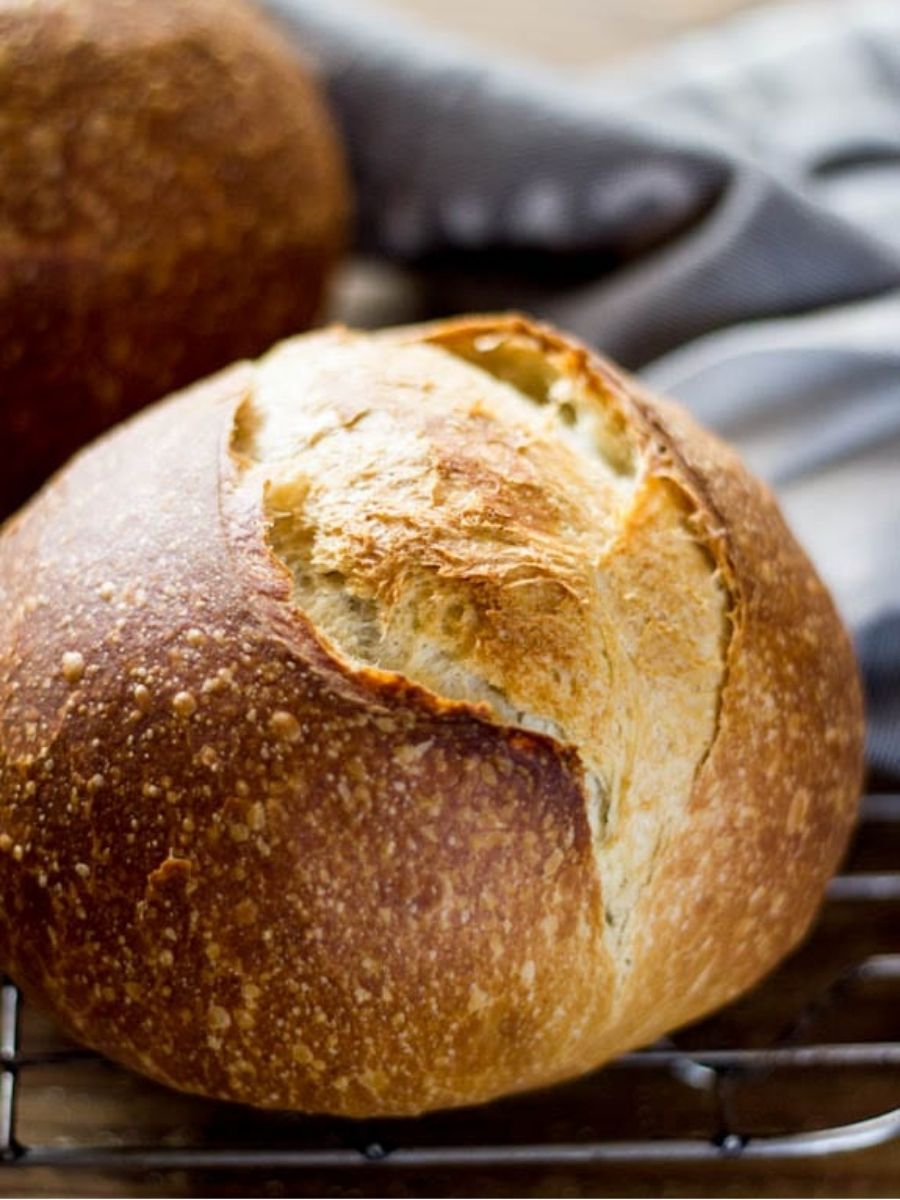
Made from bread flour, bubbly active sourdough starter, warm water, fine sea salt, and olive oil, the dough develops into a loaf with a beautifully crisp, deep golden-brown crust and a light, plush interior.
The olive oil is a signature addition that contributes to the soft, pliable character of the crumb while complementing the naturally tangy flavor of sourdough.
The process is straightforward, but it gives the dough plenty of time to develop its structure and character.
After the initial mixing and rest, the dough undergoes a slow bulk rise, followed by shaping and a shorter second rise.
Optional stretch-and-fold sessions can be used during fermentation to strengthen the dough and help create a more cohesive loaf.
Once shaped and scored, the bread is baked in a covered Dutch oven before finishing uncovered, allowing the crust to become richly browned and crisp.
Inside, the finished loaf has a tender, airy texture that contrasts beautifully with its crunchy exterior.
Its mild sourdough tang and simple, wheaty flavor make it versatile enough for everyday breakfasts, sandwiches, toast, or serving alongside meals.
Whether you’re completely new to sourdough or simply looking for a dependable homemade loaf, this recipe provides a clear path from active starter to fresh, oven-baked bread.

Beginner-Friendly Homemade Sourdough Bread
Ingredients
Equipment
Method
- Make the Dough: Add the active sourdough starter, warm water, and olive oil to a large bowl. Stir together with a fork, then add the bread flour and fine sea salt. Continue mixing until the dough becomes stiff, then use your hands to squish and combine the mixture until all of the flour is incorporated. The dough should look rough and shaggy.
- Rest the Dough: Cover the bowl with plastic wrap, reusable wrap, or a very damp kitchen towel. Let the dough rest for 30 minutes to 1 hour.
- Form a Rough Ball: After the resting period, work the dough briefly with your hands and shape it into a rough ball. This should take about 15 seconds.
- Begin the Bulk Rise: Cover the bowl with lightly oiled plastic wrap, or transfer the dough to a high-sided dough tub. Place it somewhere warm, ideally around 70–75°F. Allow the dough to rise until it no longer looks dense and has almost doubled in size. The exact fermentation time varies with temperature: it may take about 2–4 hours at 80°F/26°C or approximately 10–12 hours at 68°F/20°C. Watch the dough rather than relying strictly on the clock.
- Stretch and Fold the Dough (Optional): About 30–45 minutes into the bulk fermentation, lift a portion of the dough and stretch it upward, then fold it over itself. Rotate the bowl one-quarter turn and repeat until you have worked around the entire bowl; this counts as one set. Complete 1–2 additional sets, spacing them about 1 hour apart. If the dough resists stretching, allow it to rest longer between sets. Dough made with 250 g water will feel stiffer, while dough made with 300–325 g water will be more stretchy and elastic.
- Shape the Dough: Transfer the dough to a lightly floured work surface. Starting at the top, fold the dough toward the center. Turn it slightly and fold the next section toward the center. Continue around the dough until you have completed a full circle. Flip the dough so the seam is underneath, then gently cup the sides and rotate the dough in a circular motion to tighten its shape and create surface tension. Avoid using too much flour, as this can cause the dough to slide instead of tightening.
- Prepare for the Second Rise: If using 250 g water, place the shaped dough into a Dutch oven lined with parchment paper or coated with fine-ground cornmeal. Cover and let it rise for about 30 minutes to 1 hour. The dough should look slightly puffy but should not double in size. If the dough contains more than 250 g water, use a floured, cloth-lined proofing basket instead of a free-form rise in the Dutch oven because the softer dough may spread.
- Preheat the Oven: Preheat the oven to 450°F/232°C while the dough completes its second rise.
- Score the Dough: Immediately before baking, make a shallow 2–3-inch slash, or a longer cut if preferred, across the center of the dough using a bread lame, razor blade, or small sharp knife. Make the cut approximately ¼ inch deep.
- Bake the Bread Covered: Place the Dutch oven on the center rack with the lid on. Reduce the oven temperature to 400°F/204°C and bake for 20 minutes.
- Finish Baking Uncovered: Remove the Dutch oven lid and continue baking the bread uncovered for another 40 minutes, or until the crust is a deep golden brown. Since ovens vary, make only minimal temperature adjustments if needed.
- Check for Doneness: Use a digital thermometer to check the center of the bread. The sourdough is done when the internal temperature reaches approximately 205–210°F/96–98°C.
- Cool Before Slicing: Carefully remove the finished bread from the hot Dutch oven and place it on a wire rack. Allow it to cool for at least 1 hour before slicing.
Notes
- Weigh the ingredients with a digital kitchen scale for the most consistent results, especially the flour, starter, and water.
- The bulk fermentation time can vary considerably depending on the temperature of your kitchen. Use the dough’s appearance as the main guide rather than following the clock alone.
- At around 70–75°F, the dough should gradually become lighter and rise until it has almost doubled in size.
- Using 250 g of water creates a stiffer dough that is easier to handle for a free-form second rise in the Dutch oven.
- For a softer, more pliable dough, the source allows the water to be increased to 300–325 g. When using more than 250 g water, use a floured, cloth-lined proofing basket for the second rise to help support the dough.
- Stretch-and-folds are optional, but they can help strengthen the dough during bulk fermentation.
- Avoid adding excessive flour while shaping. Too much flour can prevent the dough from gripping the work surface and developing the surface tension needed for a tighter loaf.
- The bread should be slightly puffy after its second rise rather than doubled in size.
- A 5½- or 6-quart Dutch oven is required for baking this loaf.
- Allow the bread to cool for at least 1 hour before slicing so the loaf has time to finish setting.
Chef’s Secret (Secret Tip)
The most useful trick for this recipe is to judge the dough by its appearance and feel instead of treating the listed fermentation times as fixed deadlines.
Sourdough develops at different speeds depending on the temperature of the environment, so the same dough can require several more hours in a cooler kitchen than it would in a warmer one.
During the bulk rise, look for the dough to lose its dense appearance and become noticeably lighter and more inflated, approaching—but not necessarily reaching—double its original size.
This visual cue is more reliable than simply waiting for a particular number of hours. The same principle applies to the second rise: the shaped loaf should become slightly puffy, but it should not double.
Watching these changes helps you avoid moving the dough forward too early or leaving it to ferment unnecessarily long.
For a beginner, learning to recognize these physical changes is one of the most valuable skills this recipe can teach.
Serving Suggestions
Serve this sourdough bread slightly warm or at room temperature with butter, olive oil, or your favorite spread.
It makes an excellent base for avocado toast, breakfast sandwiches, grilled cheese, and deli-style sandwiches.
You can also serve thick slices alongside soups, stews, pasta, or roasted vegetables to soak up flavorful sauces and broths.
For a simple treat, toast a slice until golden and top it with butter, honey, or your favorite jam.
Conclusion
This beginner-friendly sourdough recipe turns a few simple ingredients into a beautifully rustic loaf with a crisp golden crust and soft, plush crumb.
While the fermentation requires patience, the process is straightforward and gives you plenty of opportunities to learn how sourdough dough should look and feel at each stage.
Once cooled, the finished bread is versatile enough for toast, sandwiches, soups, or simply enjoying fresh with butter.
With careful attention to fermentation, shaping, and baking, this recipe offers a practical starting point for making homemade sourdough bread with confidence.
