
CookLibrary is a recipe curation and editorial platform. We research and curate recipes from public sources, considering ratings, reviews, comments, and feedback. We then refine and present them clearly for home cooks. We are committed to an ad-free, focused experience that makes discovering and preparing recipes easier.
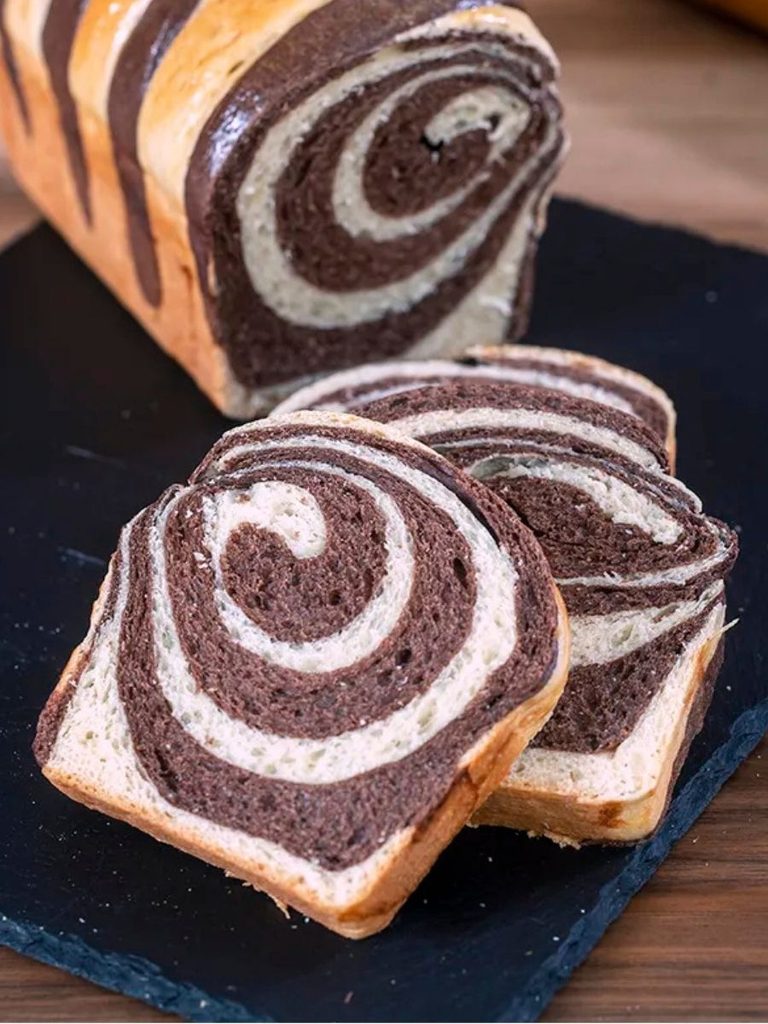
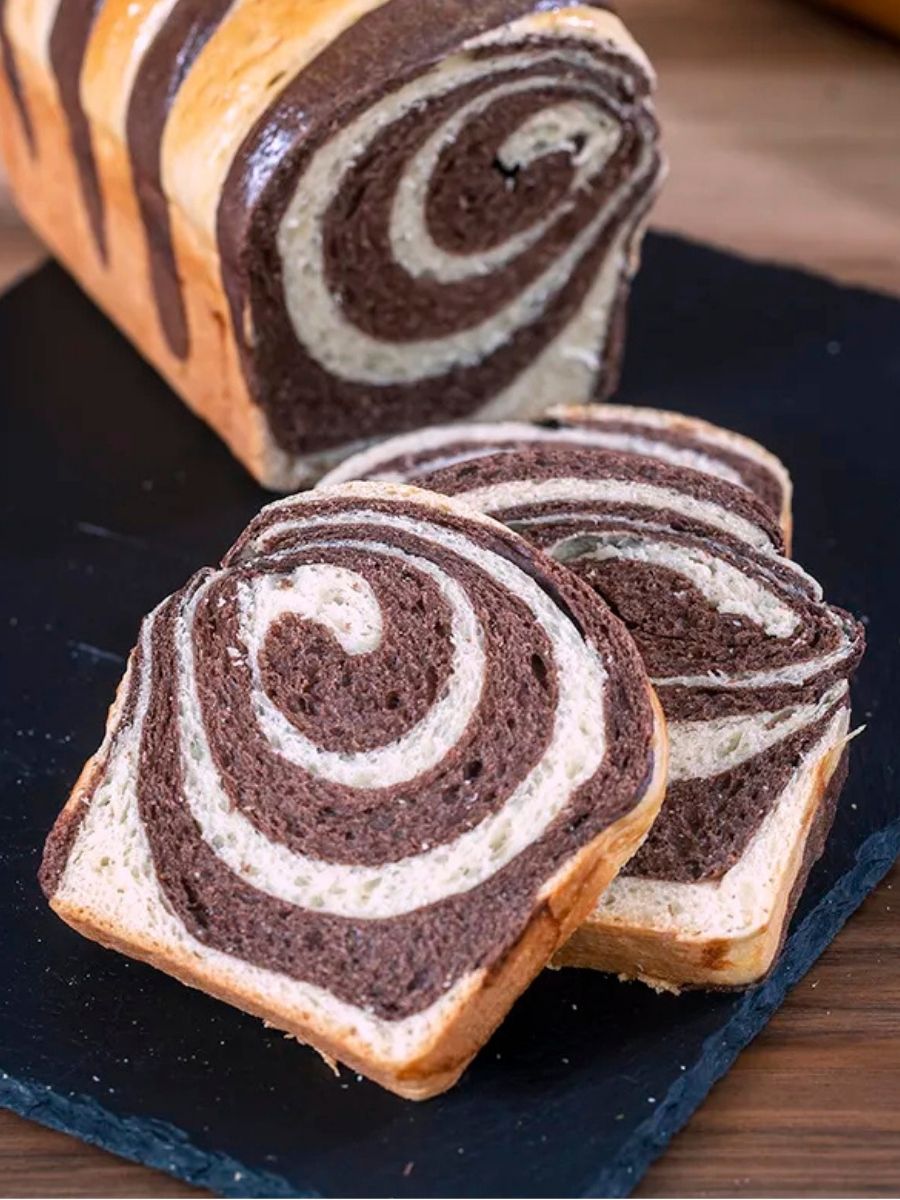
This Chocolate Swirl Milk Bread combines a tender, soft crumb with beautiful ribbons of vanilla and chocolate dough throughout each slice.
The base is made with all-purpose flour, lukewarm milk, sugar, active dry yeast, melted butter, egg, and vanilla extract, creating a rich and pleasantly sweet bread.
A portion of the dough is blended with cocoa powder and a little milk to create the contrasting chocolate layer. The two doughs are rolled together and twisted to form an eye-catching swirl pattern before baking.
The finished loaf is soft, lightly sweet, buttery, and chocolatey, making it a lovely choice for breakfast, an afternoon snack, or a simple treat with milk or tea.
Its marbled appearance also gives an everyday homemade loaf an especially inviting bakery-style look.

Chocolate Swirl Milk Bread
Ingredients
Equipment
Method
- Activate the Yeast: Combine the yeast, 1 teaspoon (5g) of the sugar, and ⅓ cup of the lukewarm milk in a medium bowl, then let the mixture stand for 5–10 minutes to activate the yeast.
- Mix the Dough: Whisk the flour, remaining sugar, and salt together in a large bowl, then add the remaining milk, activated yeast mixture, beaten egg, vanilla extract, and melted butter.
- Knead the Dough: Knead the mixture until the dough becomes smooth enough to pull away from the sides of the bowl, using your hands, a hand mixer, or a stand mixer.
- Divide the Dough: Split the dough into two equal portions, shaping one portion into a ball for the vanilla dough.
- Prepare the Vanilla Dough: Place the vanilla portion in an oiled bowl and cover it with plastic wrap.
- Prepare the Chocolate Dough: Add the cocoa powder and 1 tablespoon (15ml) milk to the second portion, then continue kneading until the cocoa mixture is evenly incorporated.
- Rest the Dough: Place the chocolate dough in another oiled bowl, cover with plastic wrap, and let both doughs rest in a warm room-temperature space for about 1 hour, or until doubled in size.
- Roll the Vanilla Dough: On an oiled surface, roll the vanilla dough into an approximately 8 × 12-inch (20 × 30cm) rectangle.
- Roll the Chocolate Dough: Roll the chocolate dough into another approximately 8 × 12-inch (20 × 30cm) rectangle.
- Layer the Dough: Place the chocolate rectangle directly over the vanilla rectangle.
- Extend the Rectangle: Roll the stacked dough further until it forms an approximately 8 × 20-inch (20 × 50cm) rectangle.
- Begin Rolling: Starting from one end, roll the layered dough toward the opposite end, stopping just before reaching the very end.
- Create the Strips: Cut the rolled dough into about 10 strips, twisting some of the strips so the vanilla and chocolate colors alternate.
- Finish Rolling: Continue rolling the prepared dough to form the loaf.
- Transfer to the Pan: Place the shaped dough into an 8½ × 4½-inch (1-liter capacity) loaf pan lined with parchment paper.
- Proof Again: Let the shaped loaf rest at room temperature for 30 minutes.
- Preheat the Oven: Meanwhile, preheat the oven to 350°F (180°C).
- Brush the Loaf: Brush the surface of the rested dough evenly with the beaten egg.
- Lower the Temperature: Reduce the oven temperature to 320°F (160°C) immediately before baking.
- Bake the Bread: Bake the loaf for about 40 minutes.
- Protect the Top: After approximately 15 minutes, cover the loaf with aluminum foil if it is browning too quickly.
- Cool Completely: Allow the chocolate swirl milk bread to cool completely before slicing.
- Serve: Slice the cooled bread and enjoy.
Notes
- Use lukewarm milk when activating the yeast; milk that is too hot can interfere with yeast activation.
- Let both dough portions rise in a warm room-temperature space until they have doubled in size.
- Keep the vanilla and chocolate doughs approximately equal in size when dividing the original dough so the finished swirl remains balanced.
- Roll both doughs into similarly sized rectangles before layering them.
- Twist some of the cut strips to create a more distinct alternating chocolate-and-vanilla pattern.
- Watch the loaf closely during the first part of baking and cover it with aluminum foil after about 15 minutes if the surface is browning too quickly.
- Allow the loaf to cool completely before slicing to help maintain clean slices and its soft, swirled structure.
Chef’s Secret
For the most attractive swirl, focus on keeping the vanilla and chocolate dough rectangles evenly sized before stacking them.
When cutting and twisting the dough, alternate the colors rather than mixing them too aggressively.
This preserves the contrast between the two doughs, giving the finished bread a more defined marbled appearance while still following the original shaping method.
Serving Suggestions
Chocolate Swirl Milk Bread is delicious sliced and served with a glass of milk or a cup of tea for breakfast or an afternoon snack.
For a simple topping, serve individual slices as they are so the chocolate-vanilla pattern remains visible, or pair them with your favorite breakfast spread.
The loaf can also be placed on a serving board alongside fresh fruit for an easy breakfast or snack presentation.
Conclusion
Chocolate Swirl Milk Bread brings together a tender milk-bread texture, gentle sweetness, buttery richness, and contrasting cocoa flavor in one beautiful loaf.
The vanilla and chocolate layers create an inviting marbled pattern that makes each slice special.
With its straightforward ingredients and carefully layered shaping technique, this homemade bread is a lovely choice for breakfast, tea time, or an everyday sweet snack.
